November 17, 2025
How to Build a Website with Site123 | A Step-by-Step Guide

Building a website on Site123 becomes far easier when guided by a clear, step-by-step structure that removes guesswork from the process. Straightforward tools support beginners by offering templates and layouts ready to customize without technical difficulty.
Good preparation helps you define goals, outline pages, and understand how your content should flow before entering the builder. Strong visual options give you flexibility to choose designs that match your brand’s identity and long-term direction.
Structured editing helps you modify text, images, and sections in an organized way that keeps your layout clean and functional. Consistent styling ensures that fonts, colors, and spacing appear harmonious across all pages and devices.
Clear navigation becomes essential for guiding visitors through your site without confusion or distractions. Responsive behavior across mobile, desktop, and tablets enhances user experience and keeps engagement high.
SEO settings allow you to add crucial information that improves online visibility and strengthens your digital presence. Following a logical path makes building on Site123 smooth, predictable, and achievable even for beginners starting from scratch.
"Set your online presence in motion.
Book a planning call for expert support."
Table of Contents
- Step 1: Visit Site123
- Step 2: Start Your Website
- Step 3: Name Your Website
- Step 4: Sign Up
- Step 5: Access the Website Editor
- Step 6: Customize Your Website
- Step 7: Editing Pages and Content
- Step 8: Domain Settings and Additional Features
- Final Touches and Publishing
Step 1: Visit Site123

To get started, you first need to visit the Site123 website. Simply open your browser and navigate to Site123.
You can also search for "Site123" in any search engine, and the official Site123 link will show up as one of the top results.
Once you’re on the Site123 homepage, you’ll see an inviting “Start Here” button. Click this button to start the process of creating your website.
Site123 doesn’t require you to create an account upfront to get started, which makes it super convenient for beginners who are just exploring the platform.
Step 2: Start Your Website

Once you click the "Start Here" button, you’ll be asked to select the type of website you want to create. Site123 offers a wide range of templates and options for different types of websites. You can choose from the following categories:
- Business Websites: Perfect for entrepreneurs or companies looking to showcase their products or services.
- Blog Websites: Ideal for bloggers who want to share their thoughts, experiences, and stories with the world.
- Portfolio Websites: If you’re a photographer, designer, or creative, this is a great option to display your work.
- Online Stores: If you plan to sell products, Site123’s eCommerce features will help you get started with your online shop.
- Event Websites: Great for creating event-specific sites such as weddings, conferences, or festivals.
- Personal Websites: Create a site for a hobby, family, or personal interests.
Simply select the website type that best fits your needs, and Site123 will automatically generate relevant templates and features designed specifically for that category.
Step 3: Name Your Website

After selecting your website type, it’s time to give your website a name. This is one of the most important steps in building your site because the name you choose will represent your online presence.
For example, if you’re creating a business website, enter your business name. If it’s a personal blog, think of something catchy or reflective of your interests. Your website name should be simple, memorable, and easy to spell so visitors can find you easily.
Once you enter your website name, click the “Go to Final Step” button to move on to the next stage.
Step 4: Sign Up

Before you can start customizing your website, you’ll need to sign up for a Site123 account. Signing up is quick and easy. Site123 allows you to register with your email address, phone number, or social media accounts like Google or Facebook. This flexibility makes it easy to get started.
By creating an account, you will have access to all of Site123’s tools and the ability to save your progress as you go. Once you’re signed up, you’ll be automatically directed to the website editor, where the real fun begins.
Step 5: Access the Website Editor

Upon logging in, you’ll land in the Site123 website editor. This editor is designed with simplicity in mind, allowing users of all technical levels to create professional-looking websites without needing coding knowledge. The editor is organized with a clear, intuitive layout that makes it easy to find the tools you need.
In the editor, you will be able to:
- Add and edit pages
- Customize your website’s design
- Set up a domain
- Change the layout of various sections
- Install plugins and features
Step 6: Customize Your Website

Now that you’re in the editor, it’s time to customize your website’s design and layout. Site123 offers an array of tools to make this process easy and flexible. Here’s an overview of the main customization options:
Pages
On the left sidebar, you’ll see the "Pages" tab, where you can manage the pages of your website. Site123 starts with a few default pages, but you can add as many pages as you want. Some common pages include:
- Home Page: This is the main page of your site and should include an introduction to your site’s purpose.
- About Page: A great way to introduce yourself, your business, or your project.
- Services Page: If you offer services, this page can showcase what you provide.
- Contact Page: Essential for businesses or personal sites, giving visitors a way to reach you.
To add a new page, click "Add New Page" and select the type of page you want to create, such as an Event Page, Blog, Portfolio, or even an FAQ page.
Design
The "Design" tab allows you to make your website visually appealing. You can:
- Change Colors: Pick a color scheme that matches your brand’s identity. Site123 offers pre-made color palettes, or you can customize the colors to your liking.
- Change Fonts: Choose fonts that reflect your brand’s style. Site123 offers a range of font options, and you can easily change the typography for various sections of your site.
- Layout Customization: You can modify the layout of your website, including the header, footer, and content sections, to better suit your needs.
Domain Settings
Under the "Domain" tab, you can select a domain for your site. Site123 offers the option to either buy a new domain or connect an existing one. If you don’t have a domain yet, Site123 will provide a free subdomain, but for a more professional appearance, it’s best to use a custom domain.
Step 7: Editing Pages and Content

After customizing your website’s design, it’s time to focus on editing the content. Site123 makes it easy to update the text, images, and other media on your website.
Editing Text
To change text on any page, simply click on the text area you want to edit. You’ll be able to modify the content directly within the editor. Whether it’s your homepage intro, a product description, or a blog post, editing text is as simple as clicking and typing.
Adding and Editing Images
To add or update images, click on the image you want to replace. You can either select an image from Site123’s free library or upload your own images. Site123 offers a variety of stock images, so you’re sure to find something that suits your needs.
Adding Sections
You can also add new sections to any page by clicking the “+” icon. From here, you can choose from various section types like Testimonials, Portfolio, Social Media Links, Pricing Tables, and more.
Social Media Integration
For businesses or individuals who want to promote their social media profiles, Site123 makes it easy to add social media icons (e.g., Facebook, Instagram, Twitter) to your site’s header or footer. Simply enable the option and enter the corresponding links to your profiles.
Step 8: Domain Settings and Additional Features

Once your site’s content is in place, it’s time to finalize your domain settings. If you haven’t purchased a domain yet, Site123 allows you to either buy one through their platform or connect an external domain.
Additionally, Site123 offers several advanced features, including:
- SEO Optimization: Site123 allows you to optimize your site for search engines by adding meta tags, descriptions, and keywords for better visibility.
- E-Commerce: If you’re building an online store, Site123 provides robust eCommerce tools to manage products, inventory, and payments.
- Analytics: Track your website’s performance with built-in analytics to see how your site is performing in terms of traffic, conversions, and more.
Final Touches and Publishing
Once you’re happy with how your site looks and functions, it’s time to preview it. Site123 offers a preview mode, so you can see how your website will look on different devices like desktop, tablet, and mobile.
When everything is in place, click the "Publish" button to make your website live! You can also connect a custom domain if you haven’t done so already. Site123 gives you the flexibility to either use a free subdomain or purchase a custom domain for a more professional look.
Conclusion
Creating a website on Site123 becomes a manageable experience when you follow a structured workflow tailored to your goals. Clear organization of content ensures visitors find essential details quickly without unnecessary complexity.
Effective branding choices help your site look polished and reinforce trust among potential users or customers. Smooth navigation and responsive layouts contribute to a positive browsing experience across all screen sizes.
Improved SEO settings provide better visibility and expand opportunities for organic discovery. Fast publishing options allow beginners to go live without dealing with technical barriers or coding issues.
Regular updates keep your website fresh, relevant, and aligned with new business goals as they evolve. Site123 gives users the confidence to build functional, attractive websites that support long-term growth and engagement.

FAQ
1. What makes Site123 good for beginners?
Its guided setup and simple editing tools help users build pages without needing prior technical experience.
2. How customizable are Site123 templates?
Templates offer flexible layout edits, branding options, and structured sections suitable for most industries.
3. Why is navigation planning important on Site123?
Organized menus improve user flow and ensure visitors reach essential content effortlessly.
4. Where can users adjust SEO settings?
Site123 includes dedicated sections for titles, descriptions, and basic visibility improvements.
5. Who should use Site123 for their website?
Freelancers, small businesses, and beginners benefit most from its simplicity and fast publishing.
6. How easy is mobile optimization?
Site123 auto-adjusts layouts, but further fine-tuning helps maintain clean presentation across devices.


Choose Our Service, Grow Fast!
Follow Us


Table of Contents
Related Posts
.webp)
Hiring a Webflow agency? Learn how to choose the right partner, compare agency vs freelancer, understand pricing, and avoid costly mistakes in this complete 2026 guide for SaaS & B2B teams.
Hiring a Webflow agency? Learn how to choose the right partner, compare agency vs freelancer, understand pricing, and avoid costly mistakes in this complete 2026 guide for SaaS & B2B teams.
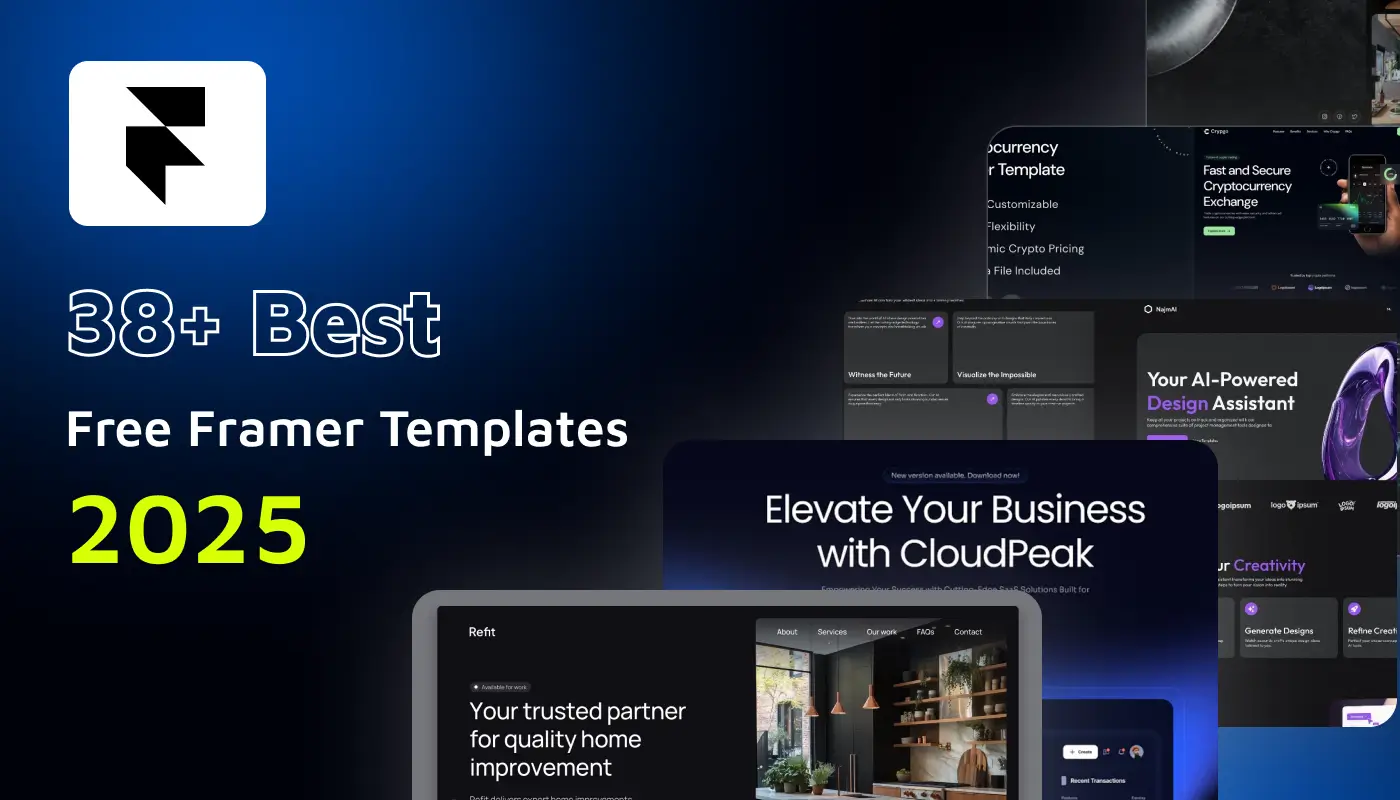
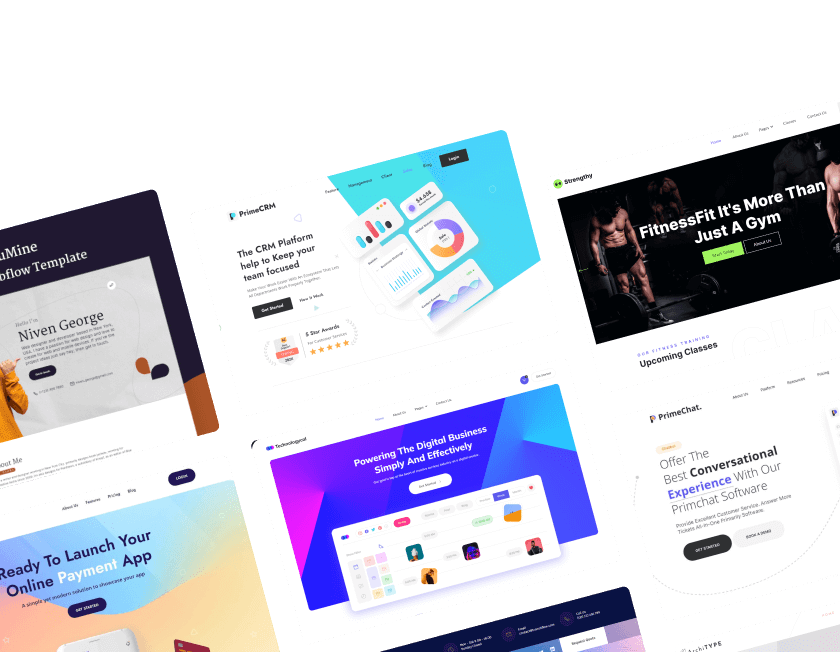
Explore 38+ free Framer templates for 2026. Discover handpicked, responsive, and customizable website templates you can clone, edit, and launch in minutes.
Explore 38+ free Framer templates for 2026. Discover handpicked, responsive, and customizable website templates you can clone, edit, and launch in minutes.
July 13, 2026
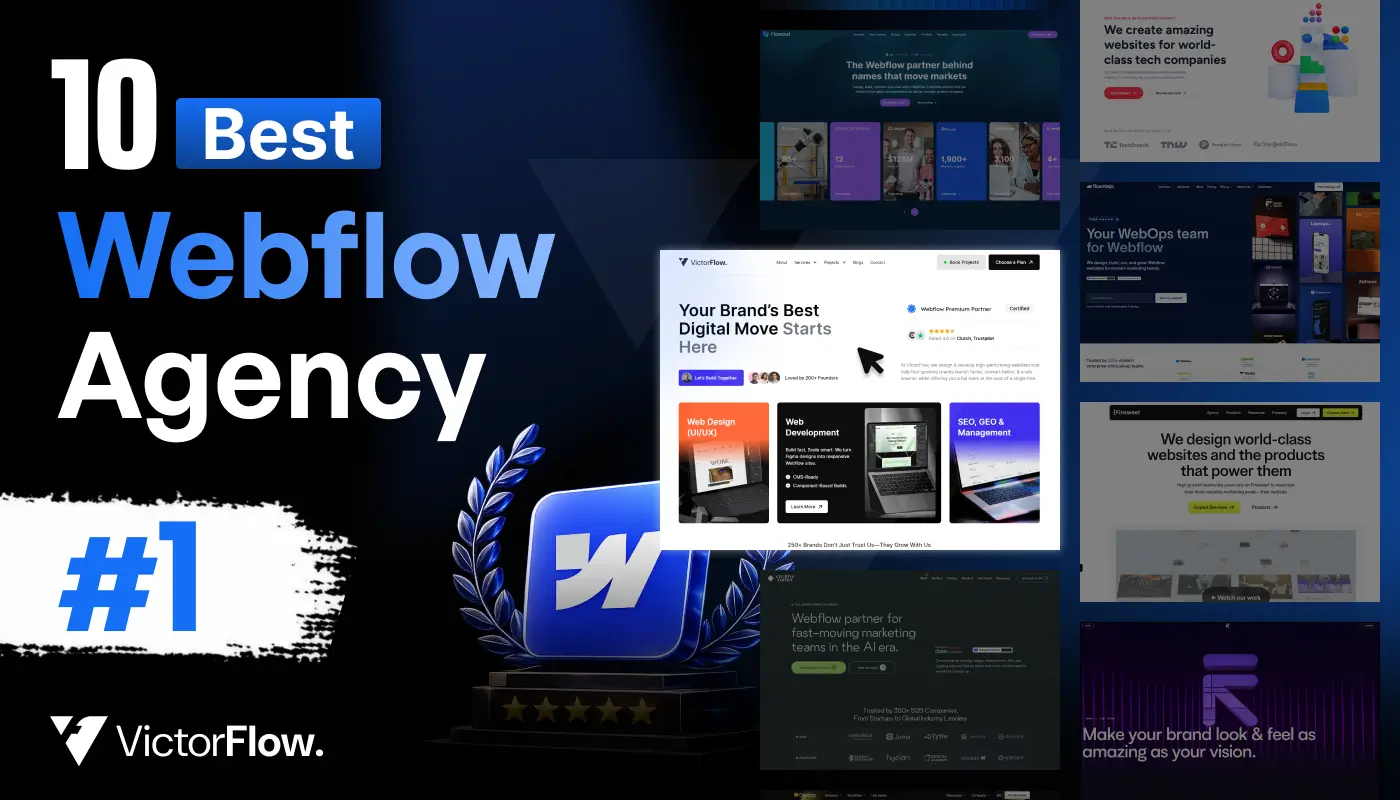
Looking for the best Webflow agency? Explore top 10 Webflow design and development agencies in 2026, compare their expertise, services, and choose the perfect partner.
Looking for the best Webflow agency? Explore 10 top Webflow design and development agencies in 2026, compare their expertise, services, and choose the perfect partner.
Ready to Scale Your Project to the Next Level?
Let's take your project to new heights, reach out and see how we can help you.


Top-rated by customers


