November 18, 2025
How to Add Custom Code in Webflow | Step-by-Step Guide

Custom code allows Webflow users to unlock features that go beyond the limits of the visual designer. Developers often rely on custom scripts to add interactions, tracking systems, or advanced behaviors that enhance the overall user journey.
Strong implementation starts by understanding where code must be placed, whether at the project level or on specific pages. Correct placement ensures scripts load smoothly and execute at the intended moments without slowing performance.
Designers frequently use custom CSS to refine visual elements and achieve styles not supported by built-in settings. JavaScript snippets help automate actions, reveal hidden components, or trigger dynamic content updates.
Third-party integrations depend on custom embeds that connect your Webflow website to tools like analytics, chat widgets, or automation platforms. Clean organization keeps your project stable so new features do not conflict or produce unexpected layout shifts.
Testing becomes essential before publishing to ensure the script behaves consistently across devices and browsers. Knowing where and how to add custom code ultimately determines how flexible and scalable your Webflow site can become.
"Enhance your project effortlessly.
Book your guidance session for custom code setup."
1. Adding Code to the Entire Site
This method is best when you want your custom code to run across the entire website. Common use cases include adding Google Analytics, custom fonts, chatbots, or global CSS and JavaScript.
Steps:
1. Prepare Your Code: Write or copy the code you want to add.

2. Access Project Settings: In Webflow, click on your project, then navigate to Project Settings.

3. Go to the Custom Code Tab: Find the Custom Code tab at the top.

4. Paste Your Code:

For CSS or meta tags, paste the code inside the Head Code section.
For JavaScript, paste the code in the Footer Code section.
5. Save and Publish: Click Save Changes and then Publish your site.

With this method, your code applies globally, ensuring consistent behavior across all pages.
2. Adding Code to a Specific Page
If you only want your custom code to apply to a particular page, this method works best. It’s ideal for landing pages, service pages, or unique page-specific elements.
Steps:
1. Prepare Your Code: Copy the code you want to apply to a single page.

2. Access Page Settings: In the Webflow Designer, click the Pages icon in the left panel.

3. Select the Page: Hover over the page you want to modify and click the settings (⚙️) icon.

4. Paste Your Code: Scroll to the bottom of the page settings and:

Paste CSS or meta tags into the Head Code section.
Paste JavaScript into the Footer Code section.
5. Save and Publish: Click Save Changes and then Publish.

This method keeps things clean and organized, ensuring the custom code runs only where you need it.
3. Adding Code to a Specific Element
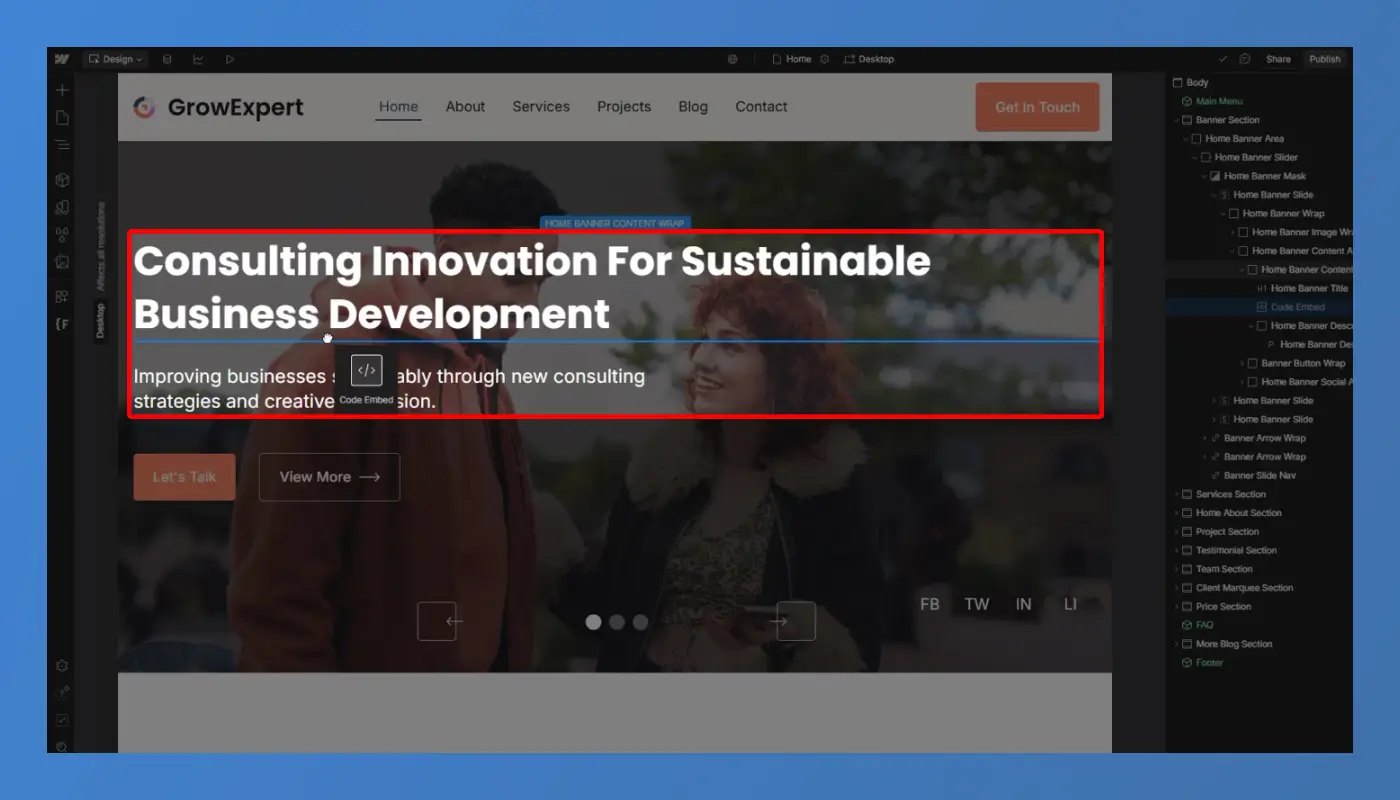
Sometimes, you only want to apply custom code to a single element—perhaps to embed a widget, add custom animations, or insert third-party forms. The Embed Code element is perfect for this.
Steps:
1. Prepare Your Code: Copy the code you want to add.

2. Select Your Element: Open the Navigator and click on the element where you want to add the code.

3. Add Embed Element:

Click the + Add button in the left panel.
Scroll down to find the Embed element and drag it into your desired section.

4. Paste Your Code: Inside the embed block, paste your custom code.

5. Save and Publish: Click Save Changes and then Publish.

This method keeps the code isolated, ensuring it only affects the specific element you’ve chosen.
Conclusion
Custom code gives designers more freedom to shape tailored experiences beyond Webflow’s default limits. Scripts, embeds, and CSS expansions allow your website to behave more dynamically and integrate external tools.
Visual layouts become far more adaptable when paired with precise styling and advanced interactions. Better performance often comes from optimized script placement and careful code organization.
Functional improvements such as tracking, automation, and toggled elements enhance usability. Robust workflows emerge as developers streamline features through reusable, well-structured snippets.
Security and reliability grow stronger when code is tested thoroughly before going live. Adding custom code ultimately transforms Webflow into a powerful hybrid platform that blends no-code simplicity and deeper customization.

FAQ
1. What types of custom code can Webflow accept?
Webflow supports HTML embeds, CSS overrides, and JavaScript snippets placed in project or page settings.
2. How do I know where to place the code?
Placement depends on whether the function is global or page-specific, so understanding load timing is essential.
3. Why is my script not working after publishing?
Issues often come from conflicting libraries, incorrect targeting, or scripts loading before required elements exist.
4. Where can I add CSS for global styling?
Global CSS goes into the project settings under the custom code section, allowing site-wide styling changes.
5. Who should handle complex integrations?
Developers familiar with Webflow’s DOM structure, embeds, and script timing produce the most reliable setups.
6. How do I keep my project stable when using code?
Clean formatting, organized snippets, and detailed testing prevent errors and maintain long-term site health.
Table of Contents
Choose Our Service, Grow Fast!
Follow Us
Related Posts

February 19, 2026
Build consistent branding experiences with these curated Framer design guideline templates that are clean, responsive, and ready to edit effortlessly.
Build consistent branding experiences with these curated Framer design guideline templates that are clean, responsive, and ready to edit effortlessly.


Explore 35+ best Webflow design & development agency websites with top-tier UI/UX, fast performance, and conversion-focused strategies.
Explore 35+ of the best Webflow design & development agency websites with top-tier UI/UX, fast performance, and conversion-focused strategies.


Relaxation-focused Webflow templates in 2026 bring modern spa aesthetics, fluid booking flows, and soothing layouts for massage studios seeking timeless online appeal.
Relaxation-focused Webflow templates in 2026 bring modern spa aesthetics, fluid booking flows, and soothing layouts for massage studios seeking timeless online appeal.

Ready to Scale Your Project to the Next Level?
Let's take your project to new heights, reach out and see how we can help you.


